Growing these spring classics in pots lets you dodge most of their drawbacks
Hybrid tulips can be unspeakably beautiful, but they also come with a daunting array of caveats. For starters, most don’t reliably return for more than two or three years—and ideal conditions are necessary for even that much longevity. Then there are the issues of disguising their dying foliage and filling the bare spots they leave behind—assuming, of course, that voles, squirrels, and other garden predators don’t snatch the bulbs well before they bloom.
Growing tulips in containers, however, lets you skip most of these frustrations. In pots, tulips are eye-catching, portable, and protected. All gardeners—regardless of whether or not they’ve had success growing tulips in-ground—should give this simple technique a try.
The best time to pot up tulips is in early fall, the same as if you were planting them in the ground. Have ready several containers with outside diameters of at least 18 inches and outside heights of at least 15 inches. Using anything smaller reduces the impact of the planting and the viability of the bulbs.
If you want a certain mix of colors to emerge at the same time, choose from the same class of tulips. Short groups, such as Single Early, Double Early, and Triumph, are obvious container choices as they mix well with spring annuals and will not tower over their pot. There’s no harm, however, in experimenting with taller or more exotic types, such as Parrot and Viridiflora.
Tulips of every type and color can work—just be sure to group together varieties with similar bloom times. You’ll only have room for 18 to 22 bulbs per container, so successive blooming (six tulips blooming one week and another six blooming two weeks later, for example) won’t look nearly as stunning as a design that flowers all at once.
Step 1: Plant bulbs so that they almost touch
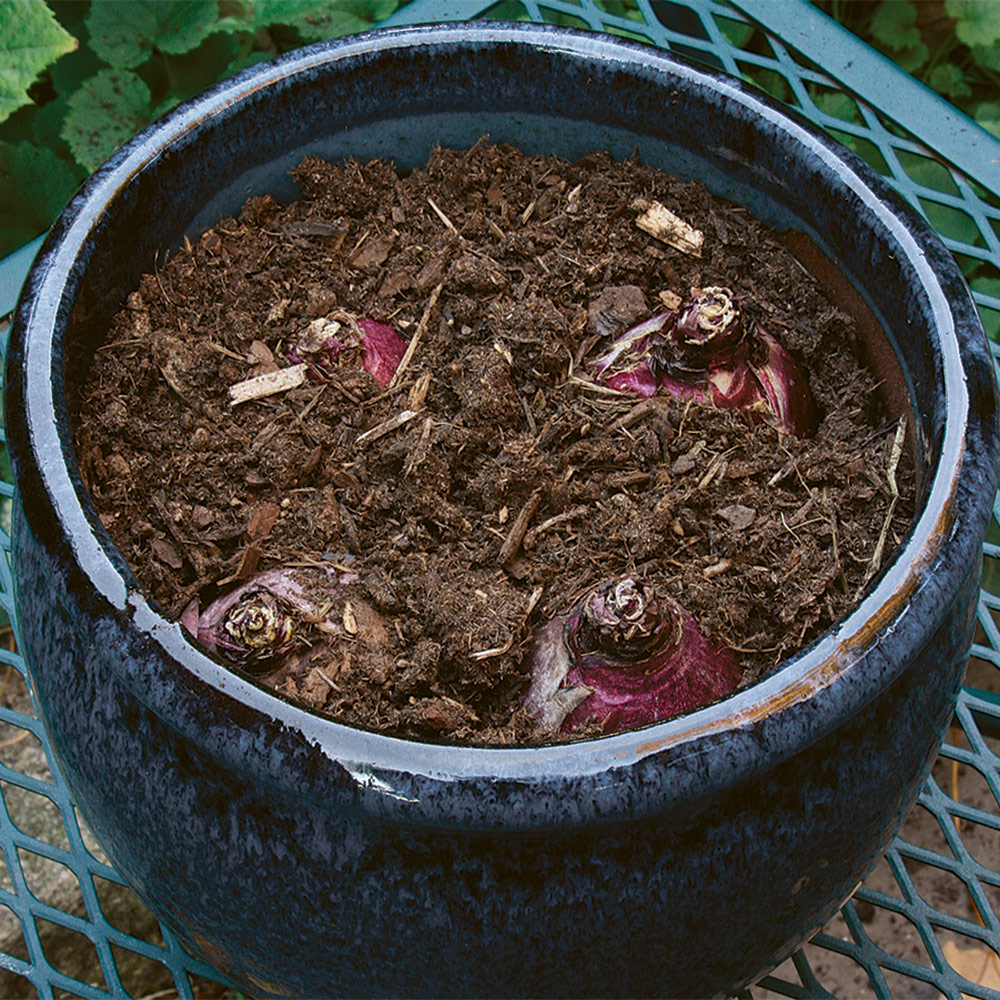
To make the containers less heavy and easier to move, place an upside-down plastic grower pot at the bottom of each container. Fill the containers two-thirds full with any inexpensive, lightweight potting mix. Don’t bother with fertilizer. Ignore traditional spacing guidelines, and place the tulip bulbs in a tight circular pattern. Cover the bulbs with potting mix, planting the bulbs at the same depth you would plant them in the ground: generally two to three times the bulb’s height.
Animals are less likely to disturb tulips planted in containers than those planted in the ground. But for added protection, place a wire grid, such as a round peony support, on top of the soil, and cover it with a thin layer of potting mix.
Step 2: Give them a sheltered spot to spend the winter
If you live in USDA Hardiness Zones 4 to 7, place the planted pots in an unheated garage. This protects them from undergoing a freeze-and-thaw cycle, which turns potted bulbs into mush. Water them when they’re in place; you won’t need to water again until spring. If you don’t have an unheated garage and live in a region with freezing temperatures, you’ll need another strategy for keeping the containers cold, dry, and insulated. The goal is to keep the planted bulbs just above freezing.
Check on your pots in early spring. Water them lightly. When the tulips start peeking above the surface, bring them out and place them on display. Water as you would any container plant; the tulips will bloom at the same time as those planted in the ground.
Once the blooms fade, you can gently transplant the bulbs into a sunny bed, but all the caveats regarding in-ground planting still apply. The best and bravest option is simply to compost the spent bulbs and start planning a different color scheme for the following year.
Keep the show going
If you know which group a tulip belongs to, you can usually predict when it will flower. Designing a few containers that contain tulips with different bloom times is an easy way to prolong the tulip season for as long as possible. This is not a perfect science, however, so be prepared to welcome your tulips if they flower a little early or a little late.


Early bloomers: Double Early, Fosteriana, Greigii, Kaufmanniana, Single Early
Midseason bloomers: Darwin Hybrid, Fringed*, Lily Flowered*, Triumph
Late bloomers: Double Late, Parrot, Single Late, Viridiflora
*Some cultivars in this division are late bloomers.
Not all potted bulbs are forced

It’s easy to confuse growing tulips in containers with the time-honored tradition of bulb forcing, but the two methods are quite different.
Potting up bulbs and storing them in an unheated space mimics in-ground planting, and the flowers will emerge in midspring. Forcing bulbs involves planting the bulbs just below the soil surface, with their tips peeking out.
Potted in fall, forced bulbs are stored in the dark at root-cellar temperature (about 40°F), then moved from the cellar into an area with light and warmth after just 10 to 12 weeks. They flower in midwinter, well before bulbs planted at normal depths outdoors or in containers.


No comments:
Post a Comment